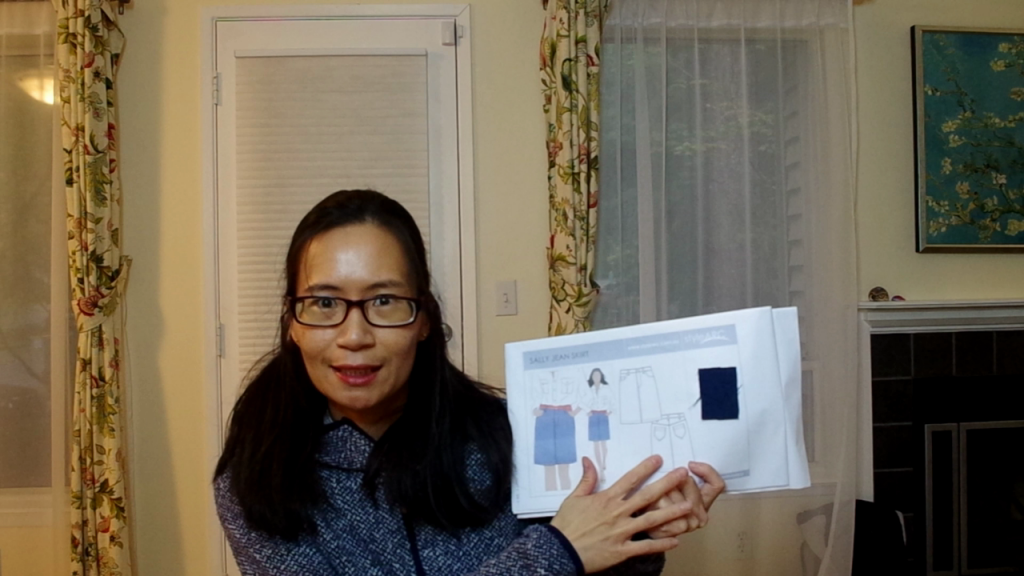
This week, I gave my full attention to the first episode of H can Hack. As a result, I completed the project a week ahead of starting work. This was especially important to me, because the project was in my bucket list for over 2 years. Therefore, I really wanted to bring it to fruition before I get busy with work again.
Making audio a priority
After producing a 50-minute software tutorial with the microphone from my sub-$10 computer earbuds, I knew I had to upgrade my audio setup. Unlike my camera mic audio, I can’t remove noise from the mics that are close to my mouth. Nonetheless, I was wary about dropping $100 immediately on a mic. Therefore, I decided to try out this microphone which cost me less than $30 after applying a discount coupon. Then, I re-recorded all the voice-overs in my H Can Hack video using the new mic and Audacity (free open-source audio software). I hope that this made a tangible difference!
Final resource toll: 50 GB of footage!
My raw footage, shot in Full HD (1920 x 1080 px) at 30 frames per second, totalled 51.1 GB. I had shot 157 clips all in all. With the audio, image and editing project files, the complete project folder came up to 54.1 GB. Therefore, the new 1 TB external hard drive came into use immediately. For reference, an Adobe Creative Cloud subscription comes with 100 GB of cloud storage. So even if I’d decided to pay for it, I couldn’t even store 2 episodes’ worth of footage within that quota! In other words, this was a very heavy project even by enthusiast standards.
Getting to really know VSDC: it’s not you, it’s me
Well, I must apologise for a number of things I misspoke about VSDC. It has a lot of functionality, but buried deep in the interface. Therefore, I have claimed that it is more limited than it really is. Here are some things that I thought it couldn’t do, which it can:
- Browsing cut clips — Even though a cut clip disappears from the Object Explorer, it still remains in the project. You can view the clip in the Resources window. When you double-click the clip, a viewer will pop out where you can replay the clip. Also, you can drag and drop the clip into the timeline from the Resources window.
- Dedicated clip viewing with in / out points — Yes, you must pull a clip into your timeline to edit it. However once there, you can click “Cutting and Splitting” from the clip’s Properties Window, and a pop-up viewer will appear where you can set the in and out points of the clip. Within that viewer, you can also export screen shots from that clip as still images.
- Fade in / out — I found a YouTube tutorial that showed how to use the Video Effects –> Transparency menu to add a fade-out. It gave the smooth fade that I wanted, rather than Fade FX in the Transitions menu, which looks pixelated on purpose.
Sprites: A powerful tool
Even though “sprites” are not a standard term in other video editing software, the concept behind them is sophisticated. In effect, they let you nest multiple smaller timelines within your main timeline. These smaller timelines can combine clips over time (horizontally) or group different layers together (vertically). This simplifies many processes:
- Join multiple small clips to add common effects — Many sections of H can Hack contain short clips (5-10 seconds), each showing a single movement. For those clips from a similar angle, I can apply the same colour correction effects if I group them in a sprite. Also, I can keep the clips together when moving them around in the timeline. However, I must remember to choose Use as Container –> No and Show Effects –> Yes within the sprite’s Properties Window before adding effects.
- Animate multiple overlays together — I created my lower thirds titles using a rectangle shape behind the title text. To enable both the rectangle and text to transition in as a single item, I combined them into a sprite and then applied transitions to the sprite.
Scenes: A great way to stay organised
VSDC’s scenes functionality was also very useful for creating long-form content like H Can Hack. With a 24-minute timeline and over 120 video clips, small changes can throw everything else off. By breaking down my content into 2- to 6- minute chapters, I kept my timeline size manageable. Also, since each scene is self-contained, I could tweak earlier parts of the video without having to worry about the effects on later parts. Furthermore, my hardware did not need to process more than a few minutes of video for playback and editing at any one time, keeping things running smoothly.
Leaning into colour correction
With the yellow light problem still plaguing my footage, I purchased a colour grading course from Udemy in order to colour-grade more intelligently. Although the course uses Final Cut Pro, the concepts behind vectorscopes, wave forms, RGB curves and colour wheels are universal. Previously I couldn’t get the vectorscope, waveform and RGB parade in Kdenlive to work. Learning about these tools motivated me to fix the problem. It turned out that the DirectX backend in Windows does not support these tools, so I switched to the OpenGL backend using Settings –> OpenGL Backend and it worked.
Every single clip in this H Can Hack episode has colour correction. In particular, the RGB curves were very useful to bring up the shadows in clips with insufficient lighting. I also reduced the contrast and increased the brightness on all the clips to get a better skin tone and softer colour. Lastly, I used the colour wheel to remove the yellow cast. During my previous attempt, I mistakenly thought I had to boost the other colours to make up for reducing yellow. With this course, I now know that I can adjust each colour saturation independently.
Making the jump into manual focus
I’ve always been more than a little afraid of manual focus. Previously, I was only taking photos when on holiday. And it isn’t fair to keep family members waiting along the street while I take forever to twiddle with manual exposure. So, let’s just say I lack practice already in manual shutter and aperture control. Therefore, manual focus is an even bigger hurdle.
Still, I was forced to learn it to produce H Can Hack. In general, Pentax cameras are not optimised for nimble autofocus, let alone to record video. At the last part of the waistband scene, where I sewed the buttonhole and installed the button, autofocus didn’t work. So, I had to do manual focus though I switched back to autofocus for the shots where I wore the finished shorts.
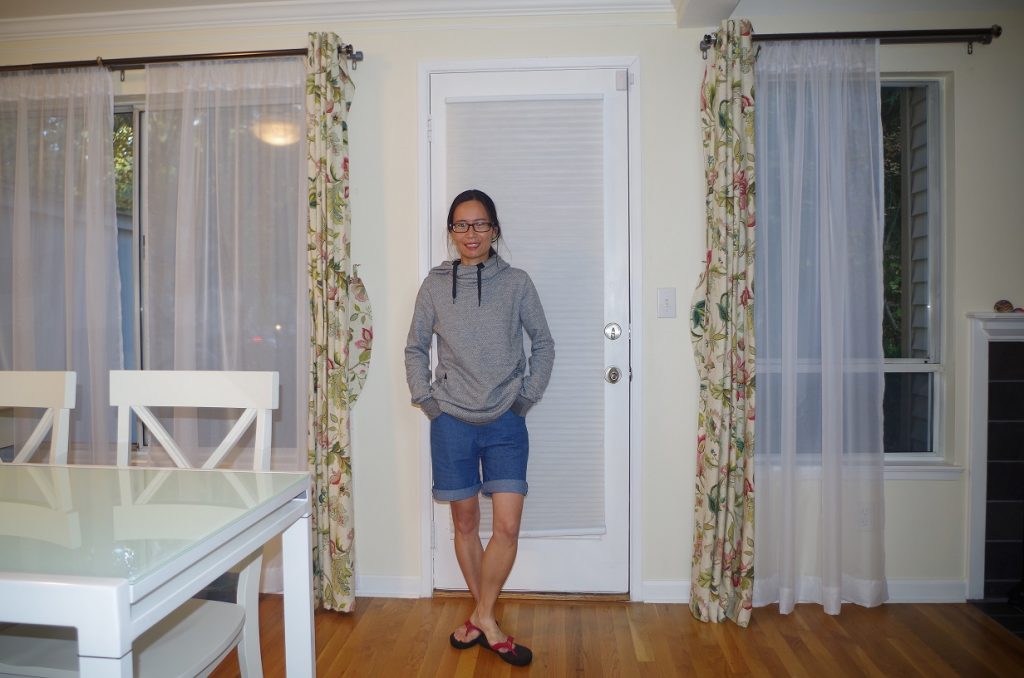
Shorts in November? Really?
Well, when you are a Singaporean, shorts are always relevant no matter the time of year!