
Finally, I feel as if I’ve broken through some of the core challenges towards making a polished-looking vlog. In this post, I relate my key learning from creating the 2nd episode of Pandas for Productivity.
The motivation for this week’s tutorial is that I recently did 2 analyses on COVID-19 data with more complex data joins. In particular, I was merging data from completely different sources. Hence, nobody had designed those data to automatically join. I wanted to take my viewers through my thought process for configuring the data to join correctly.
Scripting: Brevity is king!
Initially, I deep-dived into the philosophy of joins, the 4 types of joins, and example use cases. Then, I had a full demo of my 2nd example with screen recording. The result: a 9-minute long script!
I’m going to remember this week as “the one where I threw 3 hours’ worth of compositing work in the bin”. First, I recorded the entire screen demo and voice-over. Then, I combined them and animated the text and image overlays. Four minutes of video – so far, so good! (This was about half of the intended video). But when I watched my work – oh my, was it booooring…
Overnight, I literally slept on it and decided to give my script an entire overhaul. Specifically, I realised that I was trying to pack too much into a single video, and that one idea had ballooned into three. By choosing just one of the 3 ideas and focusing on it, the entire production went down from 9.5 to less than 4 minutes. Within half a day, I had recorded and edited the new concept.
The lesson: narrating a coding sequence blow-by-blow while running a Jupyter notebook onscreen is not viewer-friendly. Using screen grabs and speeding up the screen footage carries the story along much more smoothly.
Nailing the head shot
This week, I experimented with a closer head angle. To my extreme bliss, it finally is getting quite presentable! I would like a softer lighting effect, though. However, that means buying more gear – ND and / or polarizing filters at the least. Maybe even a reflector or two to bounce the light off. At this point I have neither the budget nor the physical space to accommodate all this, so I must be disciplined.
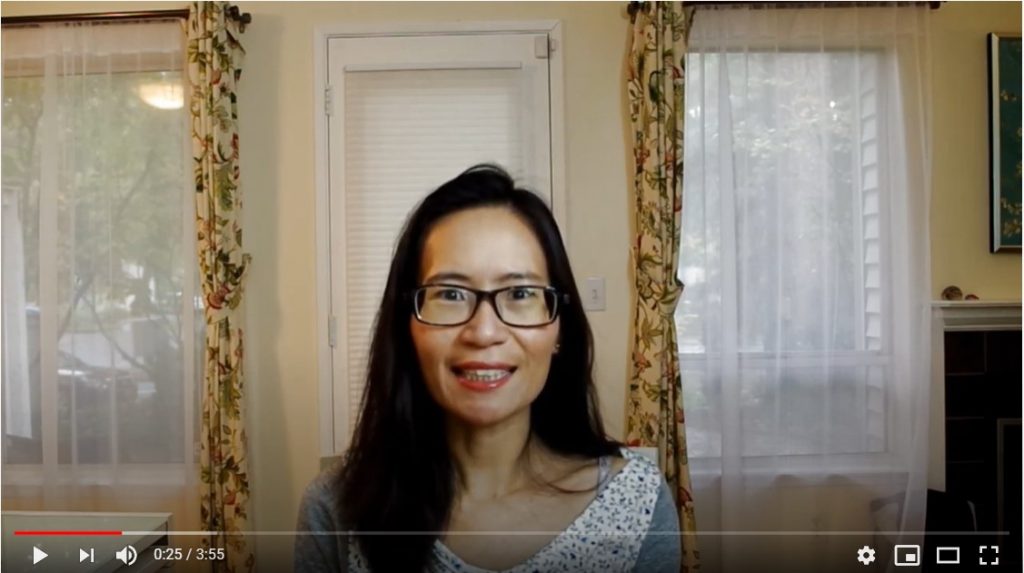
Colour correction was smooth because I fixed my white balance settings in-camera. Previously, I was over-correcting for the cloudy weather, which made my already yellow lighting even worse. This time, I went with auto white balance. Then, I increased the brightness and decreased saturation, both very slightly, while editing. This gave the picture a slightly softer effect, which I wanted.
Getting better precision with frame-level editing
With more practice, my editing speed and accuracy has improved by leaps and bounds. Learning how to set the start and duration of every single piece of media and every transition at frame level made a huge difference. In VSDC, I am doing this using the Properties box of each individual Object.
In particular, when I need to make multiple overlays come in or go out at the same time, I must specify the frames precisely to get a neat effect. For these situations, drag-and-drop editing is simply not enough. I also needed to carefully tune the length of my end screen to reach the maximum cursor position, to avoid a black screen at the end of the video.
Knowing how to customize transition durations by the number of frames also helped me to smooth out a change in my camera angle. At first, I thought that putting myself on different sides of the screen to narrate the two examples would make things more interesting. However when the two clips were put together, the abrupt jump looked unsightly. Therefore, I camouflaged it with a quick page turn transition that would have looked cheesy if it were at the default length.
Audio: Covering mistakes, normalizing multiple clips together
For this episode, I narrated my audio directly during filming. I also gained the confidence to ad-lib rather than going with a memorized script. It helped as I showed genuine enthusiasm for my subject matter, and had smoother storytelling flow. Still, there was one point where I made an unintended pause. With the audio wave form, I could cut out the blank space accurately, but needed to hide the jumpy footage. So, I used B-roll, namely my screen recording, to cover the jump.
Also, I figured out how to multi-select all the video clips and normalize the audio together. Unfortunately, VSDC does not allow you to normalize audio at track level (to my current knowledge – I might be wrong). Unlike the previous attempt where I normalized the clips individually, doing it on the entire sequence of clips did make a difference.
Still not able to hack voice-overs with screen record
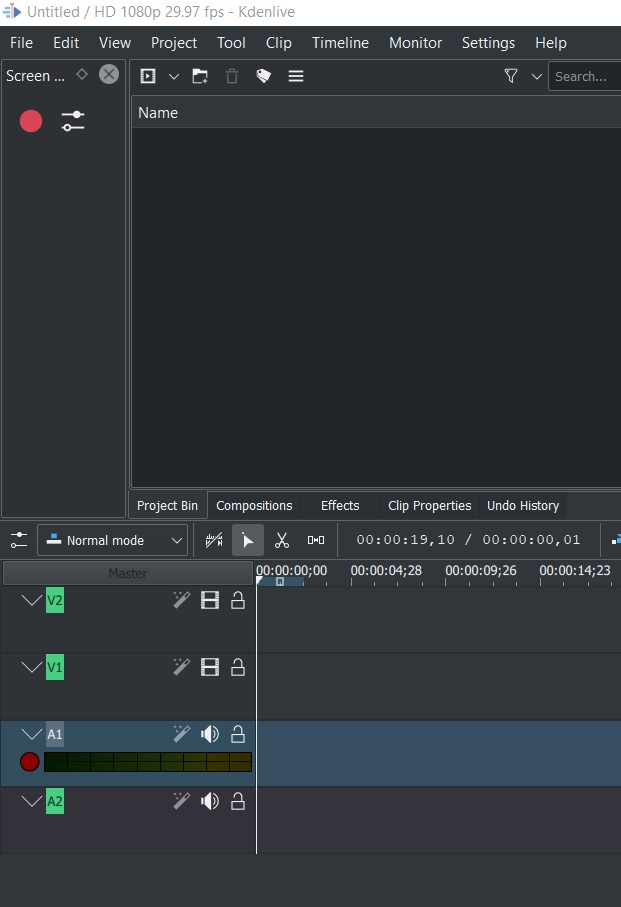
To my absolute joy, I discovered that Kdenlive has a screen record and voice-over function! Screen record is under View -> Screen Grab. You then get a tiny panel with a record button. Very elegant! To record voice-over, you right-click an audio track, then select “Show Record Controls” and again, a record button pops up.
Sadly, I can’t use the voice record functions on either VSDC or Kdenlive because my lavalier microphone doesn’t work with my computer. To confirm this, I tested the record functions with the computer mic and they worked. However, I don’t think a computer mic has good enough audio quality for a vlog.
Update: I checked up the problem and found an answer on Reddit here. It looks like I have to buy a splitter to make it work, which means that for now, I will stick to recording voice-overs on the smartphone since that is already working well.
Moving on up!